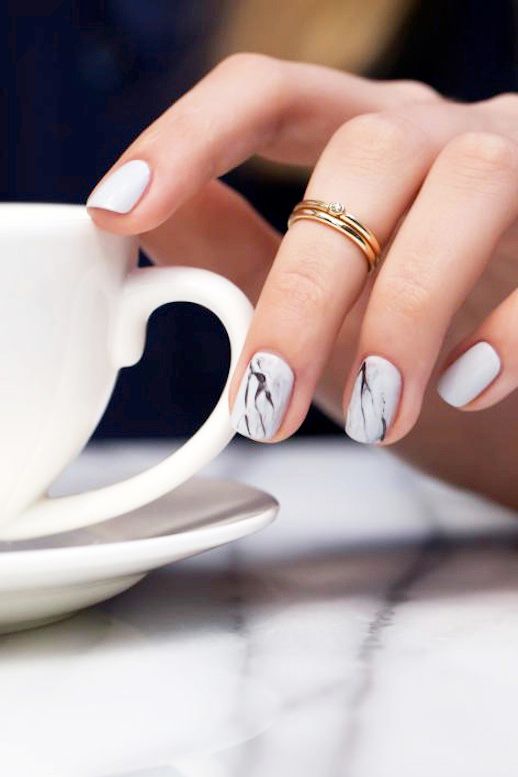
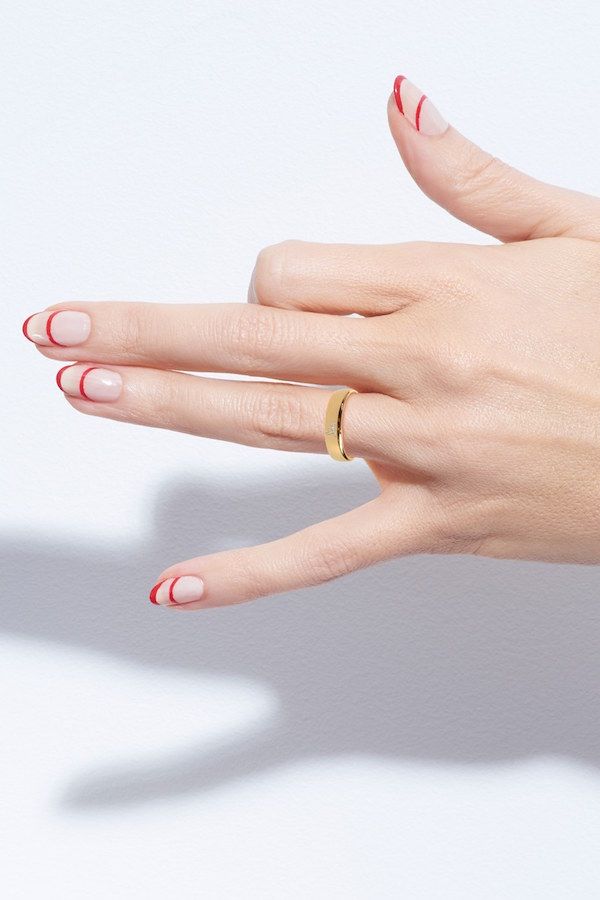
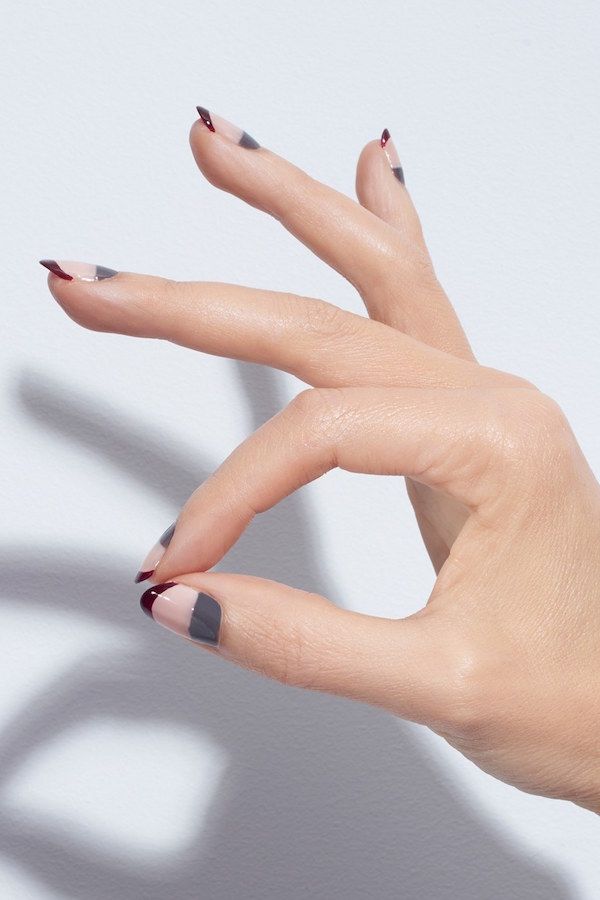
As you might remember from this post, I love marble nails, but this time around I found a great how-to video on how to create the look. Make sure to check it out for step-by-step instructions. Or, if you're short on time you can always rely quick marble nail wraps!
'Tis the season for holiday parties, so whether you're looking to make a siren statement or keep it subtle, yet cool, let these two looks with my top beauty picks from Dolce & Gabbana be the inspiration for your next party...
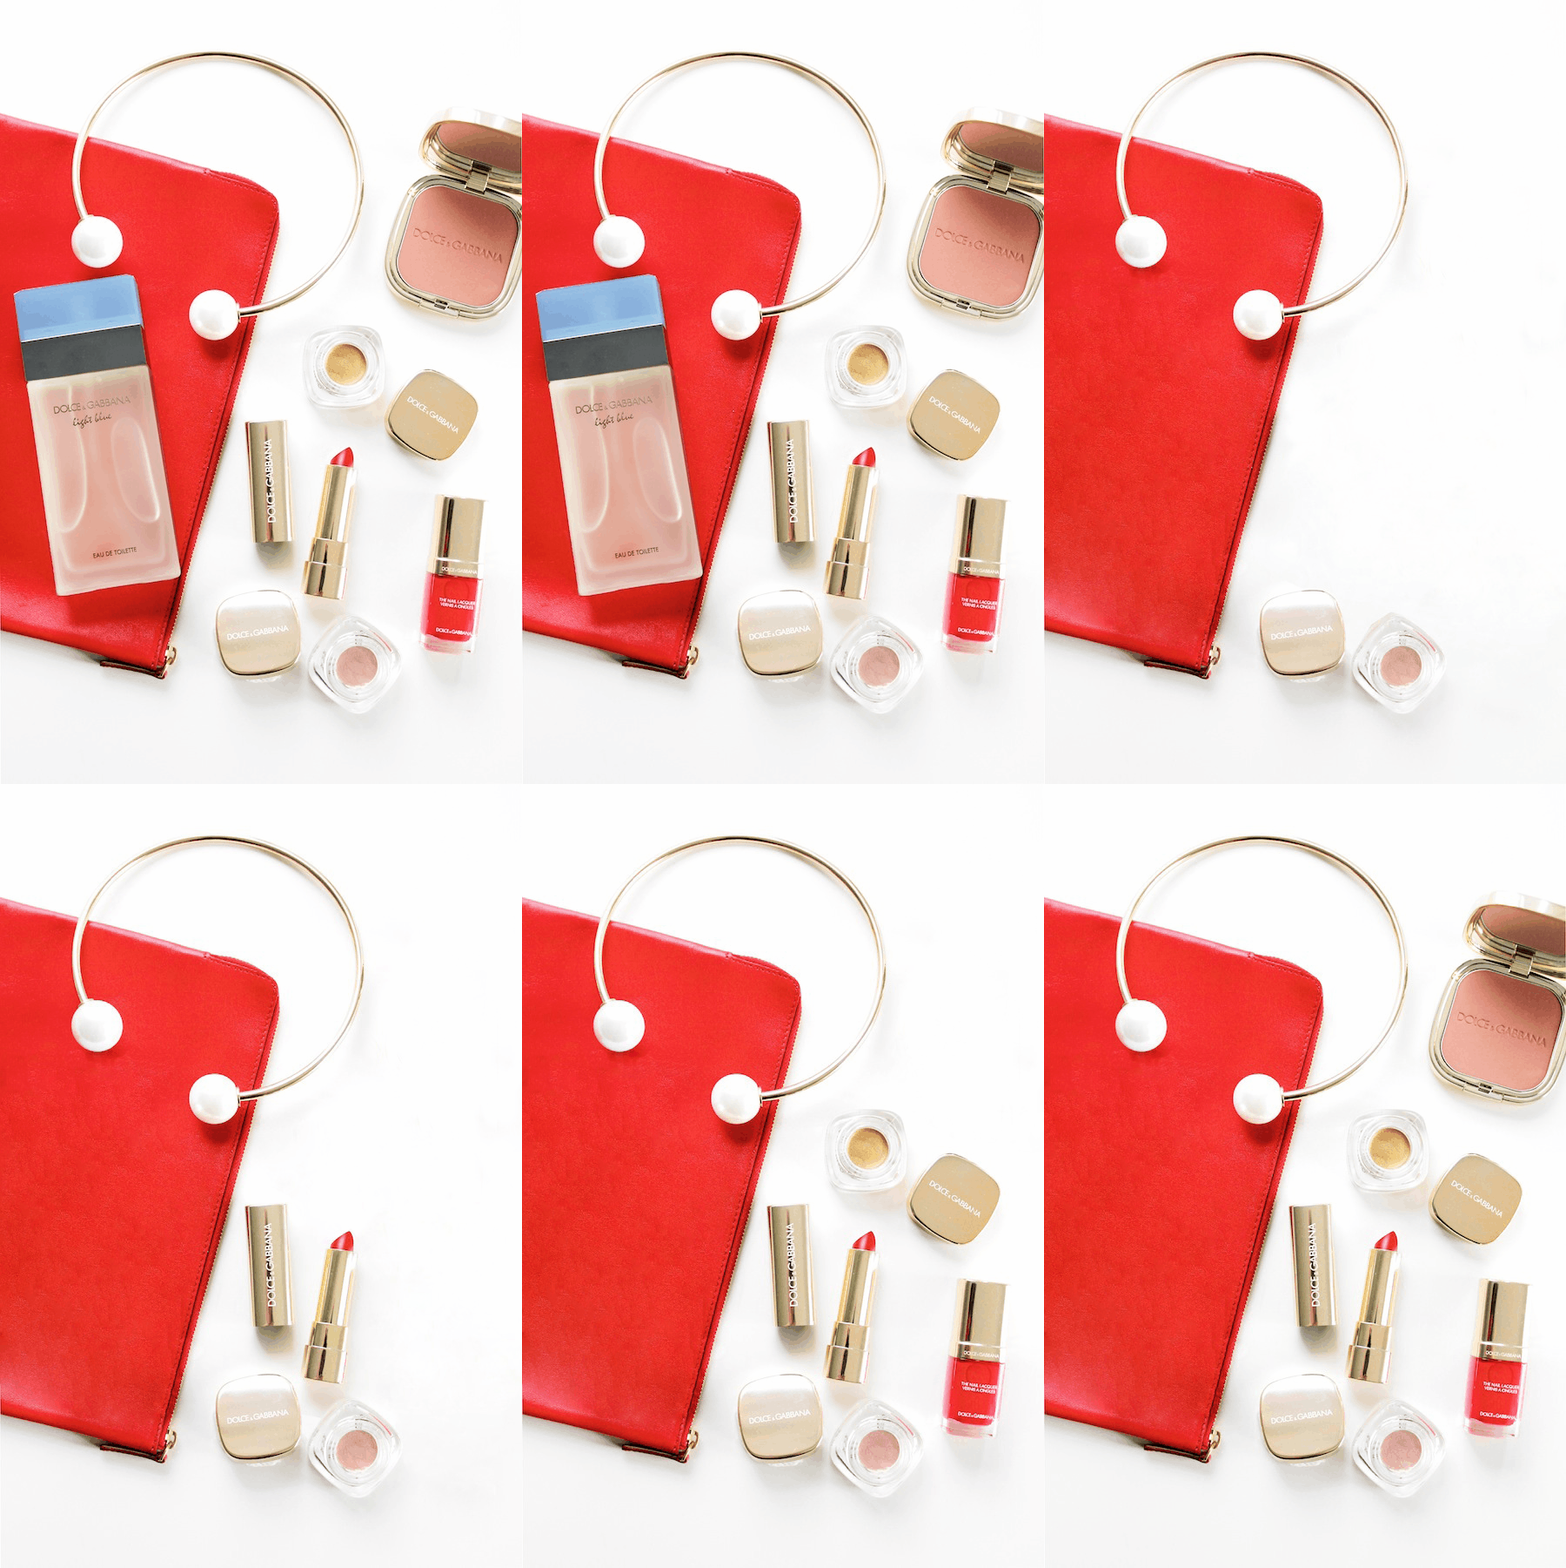
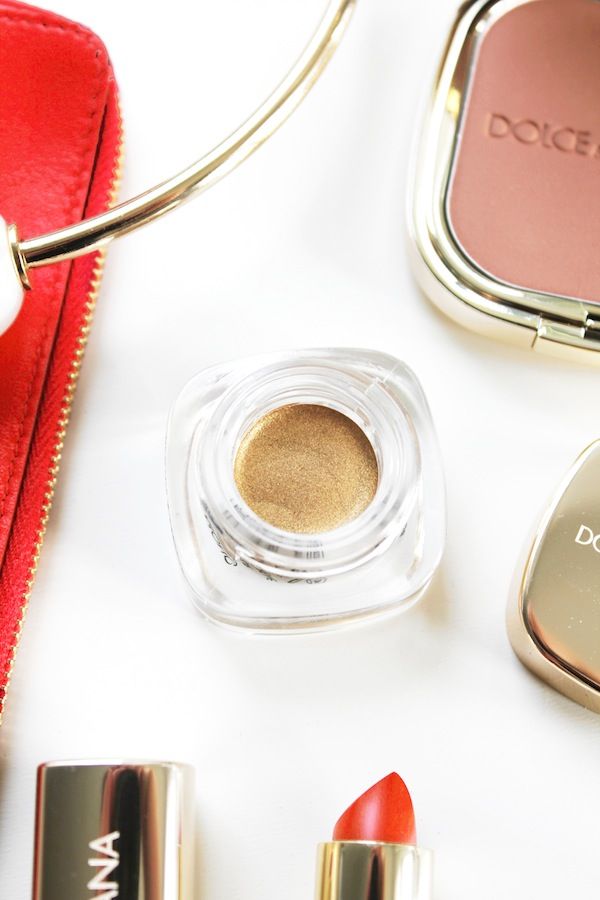
For a high-impact look, pair a classic bright red lip with a matching clutch and nail polish. Add some dimension by contouring your face with bronzing powder, then apply a metallic gold eyeshadow for the final festive touch.
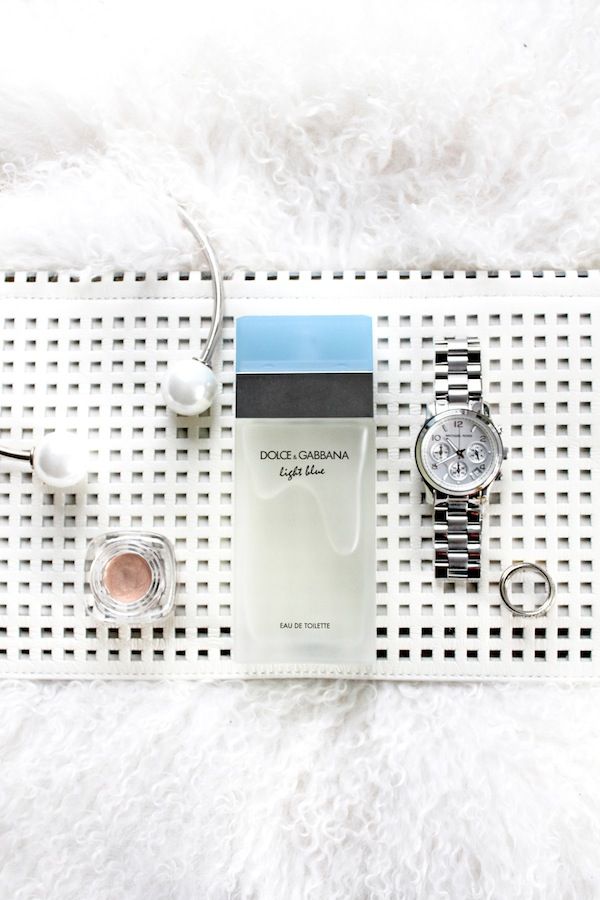
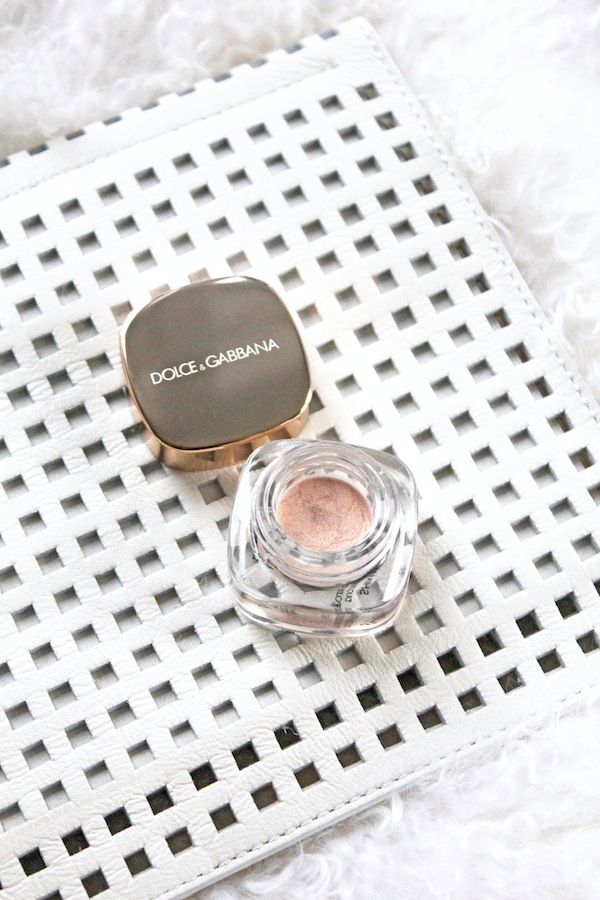
If you want something more low-key, but equally stylish, keep it simple by highlighting your face with a shimmery illuminator for a pretty glow. Try a textured white clutch, silver watch, and chic ring to keep with the cool, understated feel.
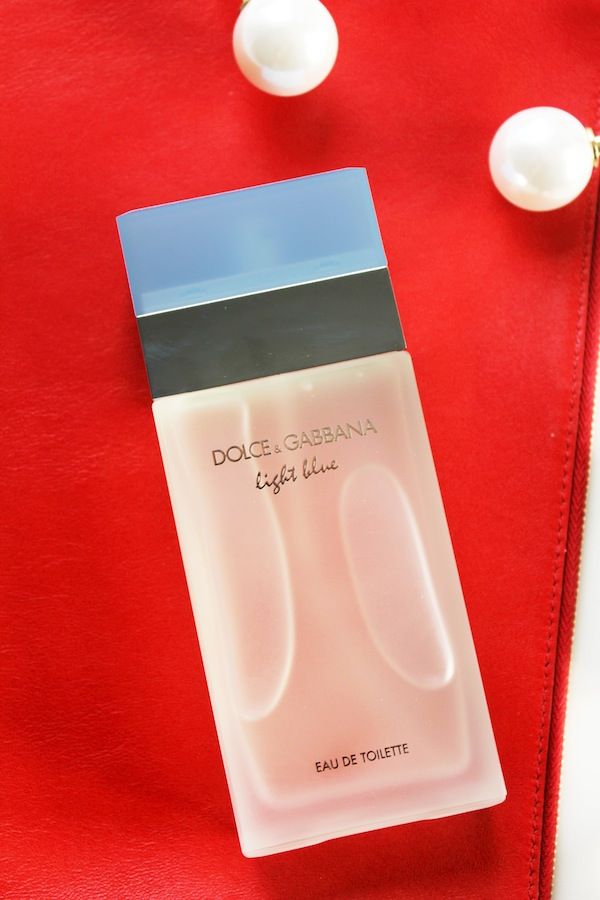
Complete both looks with an edgy pearl choker and a quick spritz of Light Blue fragrance before you head out the door. This fresh scent is always uplifting, plus it's a guaranteed conversation starter since I always get asked what I'm wearing when I have it on.
Disclosure: This was sponsored by Dolce & Gabbana Light Blue. The opinions, as always, are my own.
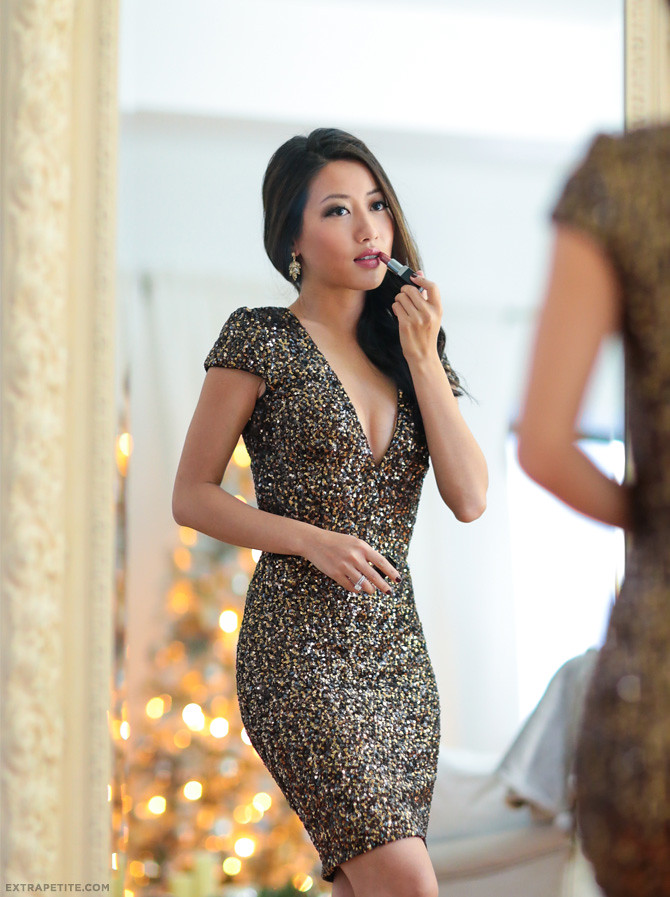
For today's beauty post I'm sharing a more amped up holiday party look with Sephora, which will be perfect for New Year's Eve parties! It's a little dramatic for daytime wear but looks great for a night out and is long-lasting based on the products used. Rather than my usual festive red lip, I went with a more neutral shade to accompany dark bronze smoldery eyes. Sidenote on this sequin dress (here's a similar pretty option w/ higher neckline) - I thought it was a smashing style but wasn't planning on keeping it due to the scandalous super plunge neckline on me. Turns out the V-neck is very easy to stitch up a little by hand to a point you're comfortable with, so I closed it up here about 1 inch. The dress is high quality with thick & sturdy material which helps "hold" everything in, and an XS fit me well. Here's the products I used for today's look...there's some longtime favorites, and also a few new discoveries I've been enjoying. A gift idea I love for beauty-loving friends is to pick a few of your favorite products or palettes and package in a cute, functional makeup bag. I thought this pebbled clutch-sized one (comes in 2 colors) was adorable and can fit quite a bit! Alright, let's get started...
Bare faced here, with problem areas including undereye circles and splotchy skin
Concealer. This NARS concealer is one of my current top favorite products, which came highly recommended to me by a makeup artist. A little really goes a long way, so even my travel-sized tube has lasted me for some time. The formula is very creamy and brightening with good coverage, and blends seamlessly into my skin without looking cakey. You can already see a big difference compared to the bare faced shot. For everyday makeup, I can usually just apply this to my problem areas and skip foundation if I'm running short on time.
While concealer shopping, I was told on more than one occasion by SAs that I should apply eye cream before makeup due to a visibly dry undereye area...yikes! I don't have a go-to one so would love any recommendations!
Foundation.I usually dot on foundation with my fingers then buff lightly using a brush in a circular manner. My skin started getting too dry for my favorite powder foundation (MUFE duo mat) so I went back to liquids. I've been toggling between using Bobbi Brown moisture rich and Laura Mercier Flawless Fluide, and sometimes mix the two. I'm not a fan of the Flawless Fluide packaging which gets a little messy by the opening, yet still repurchased just due to the dewy, natural-looking finish and great color match on my skin.
Online reviews for most foundations tend to be all over the place, which is understandable since everyone's skin is different, and how you apply the product can make a big difference. My best suggestion for finding a good foundation is to go into a store and consult a makeup artist, then ask for samples to try back at home!
Contour (optional). I'm using my Anastasia contour palette, but you can also use a matte bronzer. I suck in my cheeks and apply an initial streak along the hollows that appear, then draw that color out both upwards (scooping from my temples to around my upper cheekbone) as well as down along the chin at an angle. For the nose, I use an eyeshadow brush to lightly draw two light lines from each brow down to my nostrils, then blend outwards away from the center. Face Color. I've gone back to one of my favorite products back when I just started using makeup - good ole' BareMinerals "Warmth." I swear, a little goes far so you'll never run out of this, and I don't see mineral powder going bad. Make sure to tap just the smallest amount onto the lid then swirl with a light and fluffy brush, tapping off the excess. I go a little heavier at the apples of my cheeks, then do a light dusting over the rest of my face and down the neck.
Eyshadow. Be sure to prime your lids for a smokey eye look since it will make a notable difference in the pigmentation and staying power of your shadows. I'm using my everyday staple Laura Mercier caviar eye stick as a base color. I can't live without this thing! A few tips to get the best application: a room-temperature stick will swipe on more fluidly than a cold stick (If needed, I usually warm mine up in my back pocket or bra real quick), and if you want a smoldery line, you have to blend immediately with fingers after applying to your eyelid, otherwise the creamy formula will set.
You can actually continue layering the caviar stick for a full smokey eye, but I wanted to add more dimension and a little more shimmer for the holidays. I patted on a dark taupe eyeshadow (UD Darkhorse) to the outer uppers of my lids, and then a lighter copper brown (UD Half Baked) on the inner corners to brighten up that area. Next, use a small fluffy blending brush and sweep outwards to blend. Lastly, I applied a little black shadow (UD Creep) to the outer corners of my eyes for some smolder. Eyeliner. I love a clean, dark black wing-tipped line to really make the eyes pop. I'm using Stila Stay All Day liner and also love Lorac Front of the Line.
Fill in brows. My brows are the bane of my existence - as you can see from all the pics above, they're coarse, spotty, and grow in all different directions. I've yet to find a good brow person in Boston that makes them look any better. I filled them in here with medium brown eyeshadow, and would love to hear any favorite products from those with similar troublesome brows!
Mascara. I mentioned back in this post my eyelash extensions experience, but I haven't gotten refills in a while so they're a little sparse. Typically you should not curl your lashes nor need to apply mascara with extensions on. I'm using Too Faced mascara here which came with one of my eye palettes. I've asked several ladies with amazing lashes what their secret is, and the answer has often been this mascara!
Lipcolor: Ever since my beloved MAC Charismatic lipstick got discontinued, I've been shopping around for similar, reddish-brown neutral shades that flatter my skin tone. This Smashbox lipstickin "Cognac" is pretty close, with less orangey tones than Charismatic. The formula is creamy and easy to glide on my usually dry lips. I resisted a bolder lip since I went heavy on the eyes here, but think a berry would also be pretty!
Today I'm sharing a few picks from Ulta Beauty's holiday gift guide that are each a great value, perfect for holiday exchanges with your girlfriends or a small present-to-self to get ready for this season's parties! First up on my list is the Tarte Dressed to the Nines LipSurgence Lip Creme set with nine mini tubes of color. They're super creamy and easy to glide on, and the colors range from light & buildable to bold - I'm testing 4 of the limited edition shades up above!
I like that they're packaged in sets of 3, so you can gift as a whole set or break it up. I own a full-size lip creme from them which is $24 a piece, so thought the variety set was an awesome value for $34. I see this set just sold out online, but was told Ulta Beauty stores should have it in stock. Another product on my gifting list is one that I started using this year at the recommendation of a friend - the popular Anastasia contour palette. I use the "light to medium" powder palette and would love to hear anyone's thoughts on how it compares to the cream version! My daytime makeup routine is pretty minimal so I usually reserve this for going out at night, or times when I know I'll be in a lot of photos. Here's a before and after: After applying foundation, I just do a little contouring along my nose and cheekbones to give them more definition. You can use a variety of brushes, but a denser one like this Real Techniques flat contouring brush works well for precision shading along the cheekbones. And for the nose bridge I simply use a small eyeshadow brush. Definitely start with a light hand and just accentuate your natural features; a little bit goes a long way - it's easy to be overzealous with shading and end up looking like a patient on "Botched" ; )
Next up is this cute TOO FACED "La Petite Maison" eyeshadow palette with a good mix of smokey neutrals and highlighting shades. I made one of my first smokey eye tutorials with my other Too Faced palette which lasted me for years. This one comes nestled in an Parisian-inspired box along with a small tube of their "Better than Sex" mascara, which a few of my friends swear by. Last but not least, I love a good mini polish kit, especially with holiday colors that you're not likely to use up a full bottle of. My tip is to search on Google images for swatches beforehand, so there's no surprises of how polishes look when applied! The OPI All-Stars 4-piece mini set has a nice variety for this season ranging from a true festive red to a deep, rich plum and two metallics. The champagne silver is probably my favorite, esp. with a coat of Essie Luxe Effects glitter topcoat layered on.
(left) "Love is in my Cards" and (right) "Press * for Silver," both with glitter topcoat
Thank you to Ulta Beauty for partnering on this post! Would love to get some more ideas for my makeup-loving friends...please share some of your favorite beauty gifts to give (or receive)!
For today's post I wanted to share an updated hair curling tutorial, and also answer some of your questions on eyelash extensions (scroll down below)! After experimenting quite a bit with hair curling over the years, this video shows my current routine for my everyday hair. And for special occasions, I've been too lazy for updos lately so usually just secure curled hair off to the side and add some "poof" up top. What I forgot to mention in the video is that as an alternative look after bobby-pinning the top poof, you can twist all the curled hair into a low side bun and secure with spin pins to get the simple look I wore here - I like that one to show off garments with special back detailing. I'm using a clamp-less ceramic curling wand (I have the bigger 1 to 1.5" one) because I can't seem to work clamps without leaving crimps in my hair. However, it's a little easier to burn yourself with clamp-less since one hand gets close to the hot barrel (beginners, please be careful and take your time!). Amongst the sea of iron choices, I find that ceramic barrels make a difference and leave my hair visibly shinier than when using metal barrels. I got my very affordable one after reading tons of positive reviews, and have been pretty happy with it thus far! I use a 400 degree heat setting for my thick hair, but definitely recommend starting out lower, especially if you have fine hair. I usually use drugstore shampoo + conditioner but do splurge on repair / conditioning treatments like this Shu Uemura one, because I feel like I put my hair through so much with regular high heat styling. Onto the fun topic of lash extensions...after seeing them so often on others (usually identified by gorgeous lashes that look a little too natural too be falsies but a little too striking to be natural), I finally decided to try them out earlier this year. The biggest factor holding me back over the past few years was the fear that they'd damage my real lashes. They also cost a pretty penny - most places I researched in Boston started at $200 to 250+ for an initial full set, with refills at $80-100 every 2-3 weeks. However, I value every minute of sleep in the mornings and it takes me ages to do my lashes, so the convenience and effort saved for me is worth it. It could also be a good option scheduled strategically before a slew of special events, parties, or for a wedding. I've gotten several questions about my "falsies" lately, so figured I'd share some more thoughts on the process!
Before (top) & After (bottom) lash extensions
Some of my lessons learned in the process: - The state of your natural lashes will largely dictate how full your extensions can look, since extensions can only be attached to existing lashes. They don't have the same drama as falsies on me, but achieve a look that regular curling and mascara could never get to on my natural lashes. It feels amazing being able to roll out of bed and apply minimal makeup before leaving the house.
- I found this article to be very helpful about the different curvatures, lengths, and widths of lash extensions. My first visit, I didn't know what to ask for so requested shorter extensions (pictured above) but I started getting them a tad longer on the outer half. The biggest difference for me is in the profile view, which I unfortunately don't have a comparison pic of. My natural lashes are stick-straight, short and downward pointing, whereas the extensions are perpetually in an upward curl which look nice from the side.
- Most of the cost is for your technician's time and likely not the lashes themselves. The process is pretty painstaking with 1 extension being adhered to each individual lash. If you get the newer "volume" or Russian-style lashes (lighter and fluffier), they can supposedly apply three or more to 1 lash which will look fuller but take more time & cost. My first full set took about 2 hours and refills are about an hour.
- They're probably not worth getting if you like to regularly take steamy hot showers (may loosen the adhesive) or sleep with your face buried in a pillow. Many a days I've woken up face-down and mourned some smooshed lashes.
- As your natural lashes grow, the extensions will grow with them and get a little longer in the weeks after being applied. When applied right, they should feel just like your natural lashes and not be painful or heavy.
- Lash appointments are the perfect excuse to unwind in the middle of a busy day because your eyes have to stay shut ; ) I used to doze off, jerky leg twitch and all, and embarassingly pretend like I was "stretching." Now I just give in, bid my technician goodnight and enjoy the powernap!
For Boston-area ladies, I've been going to Lash L'Amour on Newbury & in Newton after doing lots of research and Yelp reading. I've been very happy with their service and clean facilities so far. Their prices -albeit not low- are on the lower end of several places I looked into nearby, and a little bonus is they have a free touchup service 1 week after any full set if you want adjustments to be made. They also have a refer-a-friend program, so you can tell them I referred you to get 25% off a first set (I'll get a discount as well on my next appt).
To be honest, I'm still not certain about whether extensions are damaging to natural lashes. I agree with the article above that it likely depends a lot on the care and finesse with which extensions are applied and glued on, not to mention your own maintenance of them. I personally love how they look and the convenience, but am currently taking a break from more refills just to let my natural lashes rest a while before starting up again.
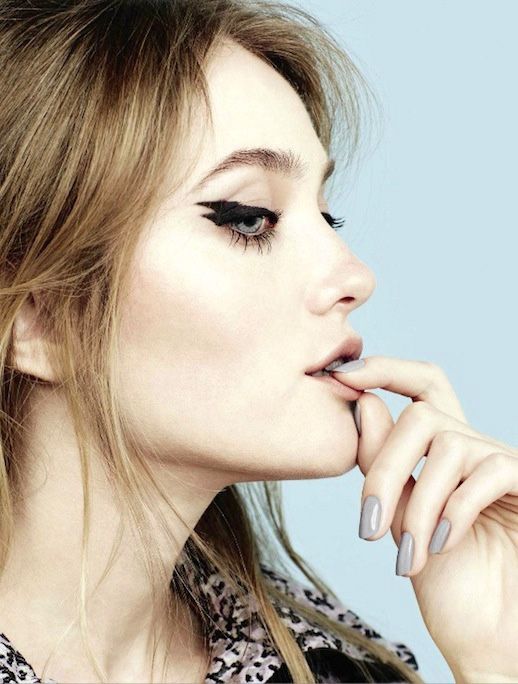
Currently obsessed with this double cat-eye beauty look! Her perfectly-groomed eyebrows, lush eyelashes, and grey nail polish come together to make quite the statement look.
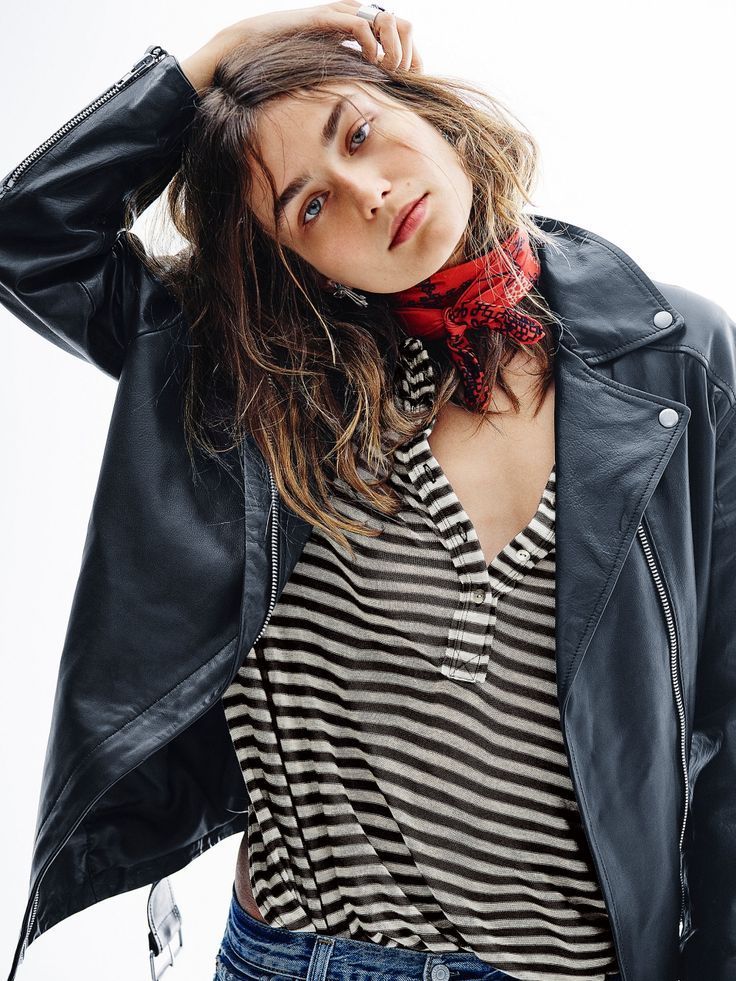
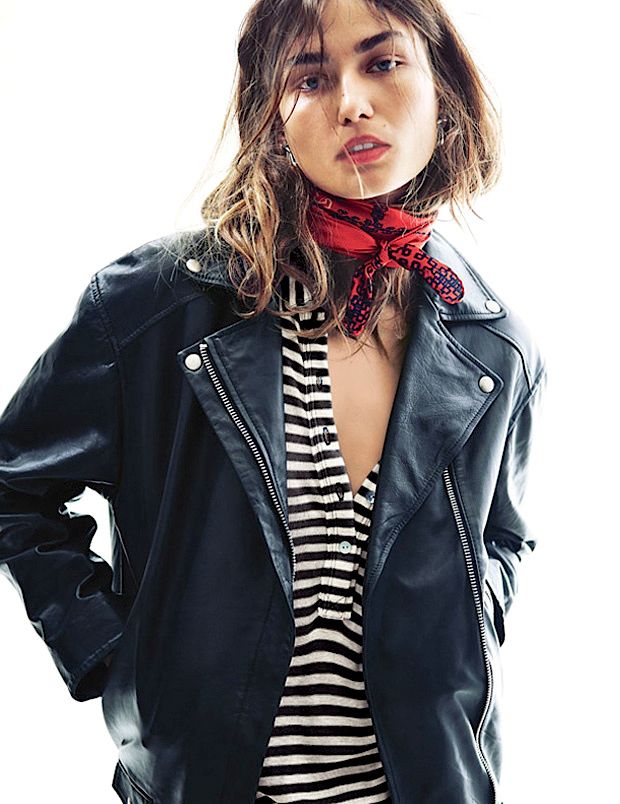
Currently crushing on model Andreea Diaconu in this effortless mix with textured waves, a red bandana neck scarf, sheer striped tee, and edgy leather moto jacket.